There is a simple and innovative way to process and take advantage of the organic waste you produce at home, as well as in your garden: a digester bale (read the creator’s history here). Instead of decomposing the discards, the digester bale ferments them. In conventional composting, oxygen is the main reason the organic waste rots, which generates odors and attracts insects, like flies. The advantages of the digester bale, then, stem from the absence of oxygen.
To avoid the presence of oxygen, digester bales work by pressing the organic waste in a bucket of approximately 1 cubic meter. This structure allows the cultivation of microorganisms and insects that obtain energy from the organic residues and further the decomposition process.
The technique can process almost a ton of organic waste in just 1 cubic meter. To begin the process, you need a mixture comprised of approximately 50 percent organic kitchen waste (such as peelings, leftover fruit and vegetables, manure, eggshells and seeds) and 50 percent garden waste (leaves, branches, grass).
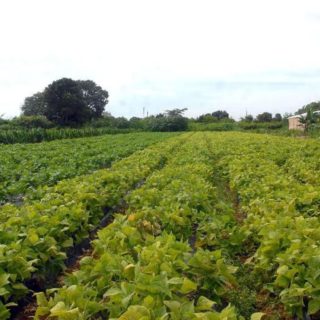
Nowadays, 54 percent of the solid waste that reaches landfill sites in Colombia is organic, according to the World Bank. This material waste does not belong there, as its useful life is not over. It could be used through a variety of composting techniques. In landfills, discards end up generating polluting gases, which accumulate in the atmosphere and are the biggest contributors to climate change.
Have you ever experienced any day of intense heat? These sudden climate changes are caused by human activity on the planet, such as the extraction of fossil fuels, deforestation and the emission of greenhouse gases. The solutions to this problem are individual as well as municipal, national and global. With the use of digester bales, you can help by reducing your household waste, and also fill your soil with nutrients for your plants.
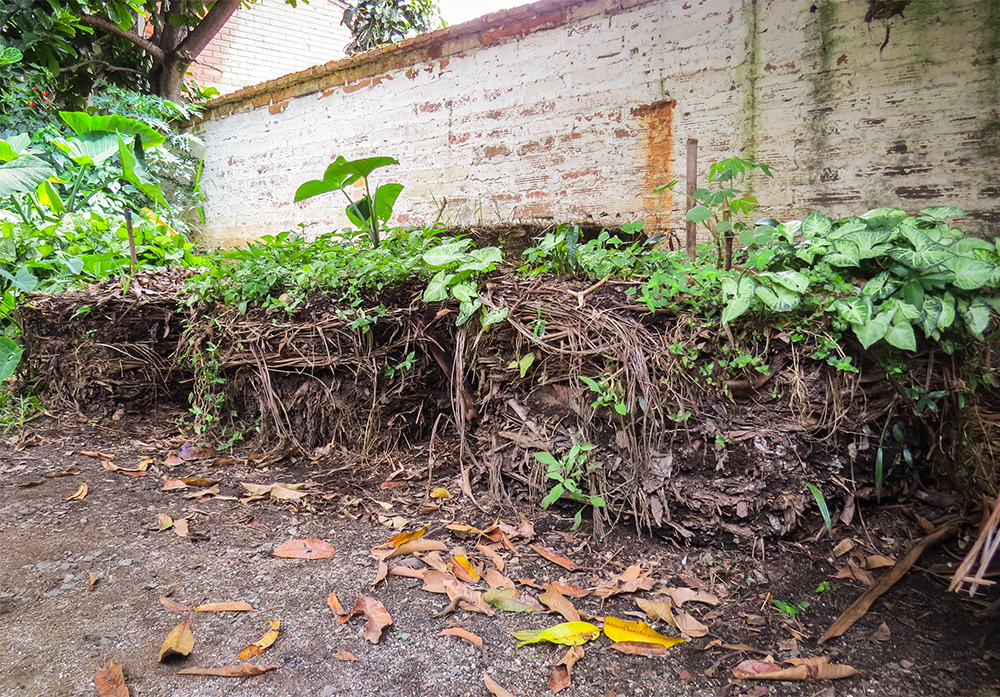
The time spent to fill up the bale will depend on the amount of organic kitchen and garden waste you generate (between two hours and a month). Once the structure, which measures 1 meter in height, is full to the brim with waste, it will take about six months to become a natural fertilizer ready to be used in home, company or school gardens.
You need four planks, preferably of wood, to make the bale mold (Valeria Zapara/Believe.Earth)
THE MATERIAL
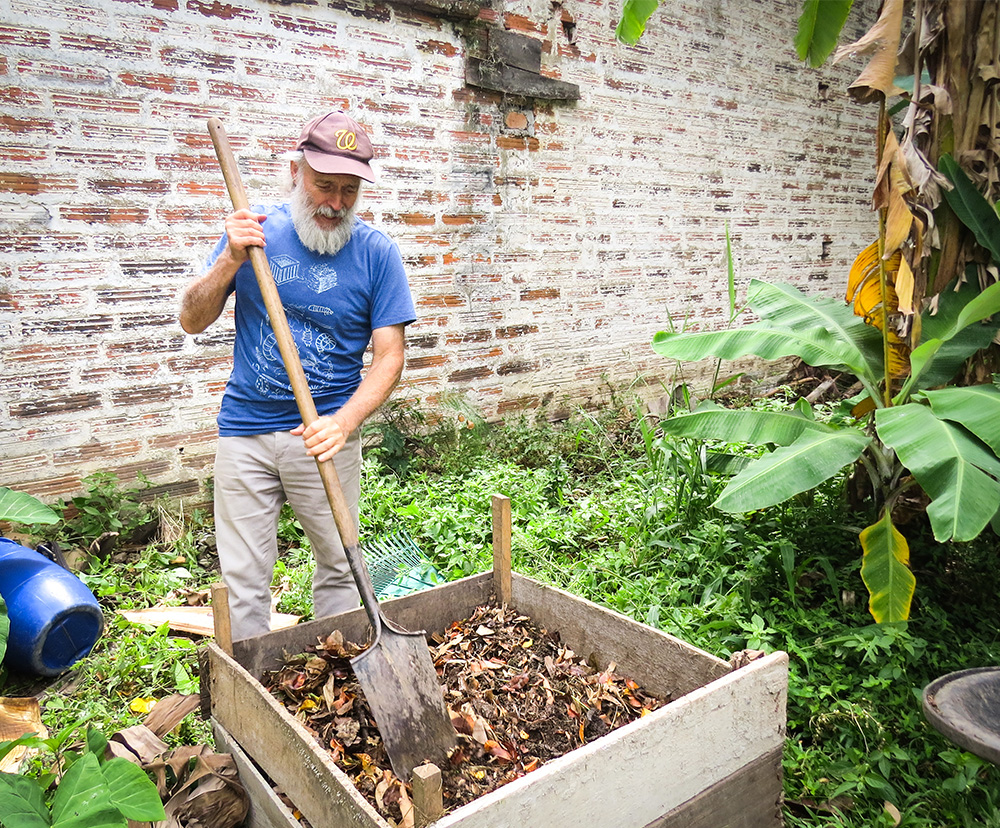
– Four planks of wood of approximately 1 square meter to make the mold. You can make a shorter mold, but if you add additional planks, it will get bigger as the bale is filled up. The best material is wood, but other material can be used. The important thing is that it be solid and made of recovered material if possible. Guillermo’s bales are made from wood donated by a metallurgical supply store.
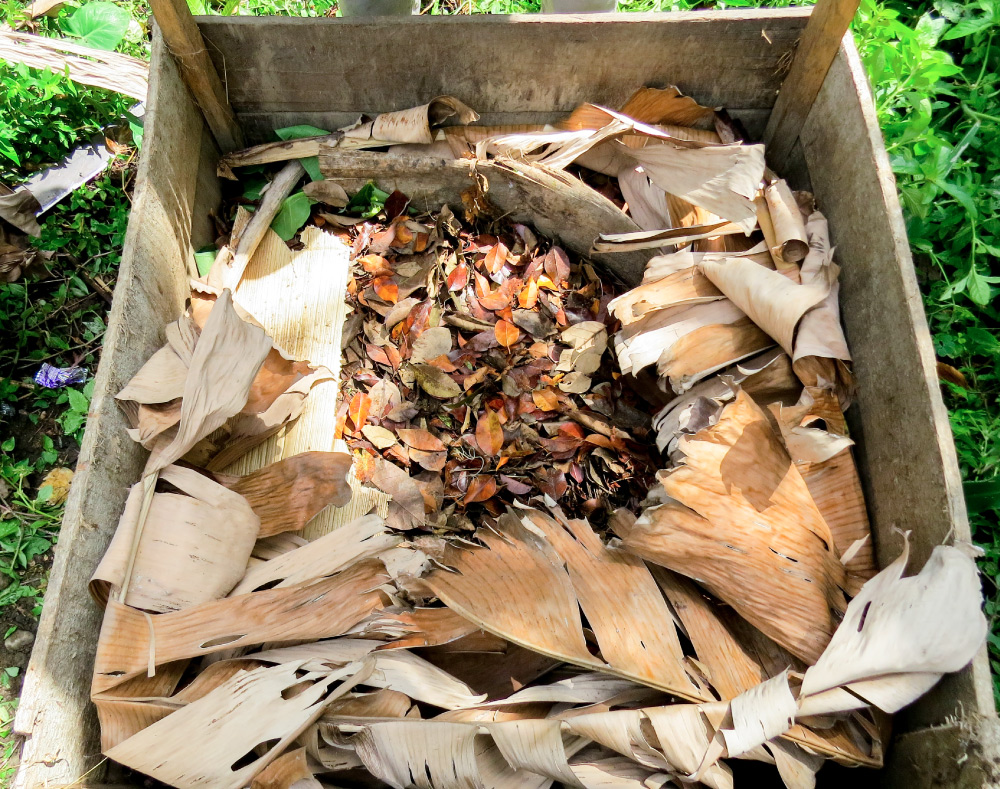
– Garden waste (dry and green leaves, grass, branches). You can also use sawdust.
– Organic waste (such as vegetables, fruit, raw or cooked meat, animal manure).
– Tree branches and trunk to make the base of the bale
If there is not enough material in the garden to build your bale, you can feed sawdust and pieces of paper into it (Valeria Zapata/Believe.Earth)
STEP-BY-STEP
1. The mold: As a point of reference, think about a cube with no cover or base. It’s like a drawer with only sides.
Start by joining the planks. You can use nails, but be sure you can easily remove them when the bale is full. This is important as it enables the mold to be removed for a new process.
This step of joining the planks is applied whether your mold is 1 square meter or shorter.
2. Base: Place the finished mold in the place where you will be filling up your bale. The structure should be in an open space, sitting on the grass or on the ground to allow water to flow in and out. The best areas are parks, farms, urban gardens.
Tree branches and trunks must be well settled and in a single direction inside the mold, as if shaping a large drain. This will protect the bale from soil moisture and promote water drainage.
3. Garden waste: The first “bed” of the bale is composed of garden waste. Put in a good amount, evenly distributed.
Here comes the most important step: Start to press the materials well, to allow as little oxygen as possible into the collected waste. Do it with the help of a branch or, even better, you can climb into it and start stepping and jumping on the discards.
4. Organic waste: Add some more garden waste just on the edges of the bale, as if you were going to build a cradle or a nest. Leave empty space in the center and place the organic kitchen waste there. One possibility is to collect all the organic kitchen waste you produced in a week and put it in together, in one single layer.
5. Cover: Now, cover that organic ktichen waste layer with another layer of garden waste. Cover the first layer – of kitchen waste – until it is not visible. Again, squeeze all material thoroughly until it is compact.
Ready! When there is more waste to deposit, just repeat the cycle.
6. Repetition of the Process: To begin another cycle, put in the garden waste first, again making some sort of cradle or nest. Then, deposit the organic kitchen waste. Cover the entire surface with garden waste and squeeze it well using a branch, tool or your feet until all the material is compact, leaving little oxygen between the layers.
7. Finishing: When the bale is full to its 1-meter height or at the end of the month, it is important to top it off with a compact layer of garden waste. If you want it to look beautiful, you can add some soil and, in that final layer, plant some seeds or seedlings, so plants will grow by absorbing nutrients from the bale.
To finish, dismantle the mold by removing the four planks of wood or other material or build up another level.
8. New bale: With the planks removed, reassemble the mold and repeat the entire process to continue processing the organic waste you produce.
9. Share! Finally, do not forget to share and teach this technique to friends, family and colleagues. Spread this practice to make us better human beings for our planet.